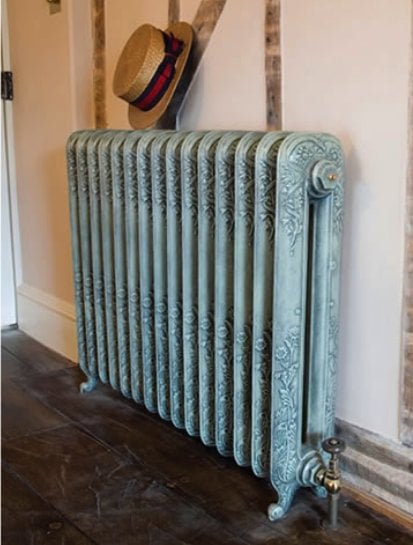
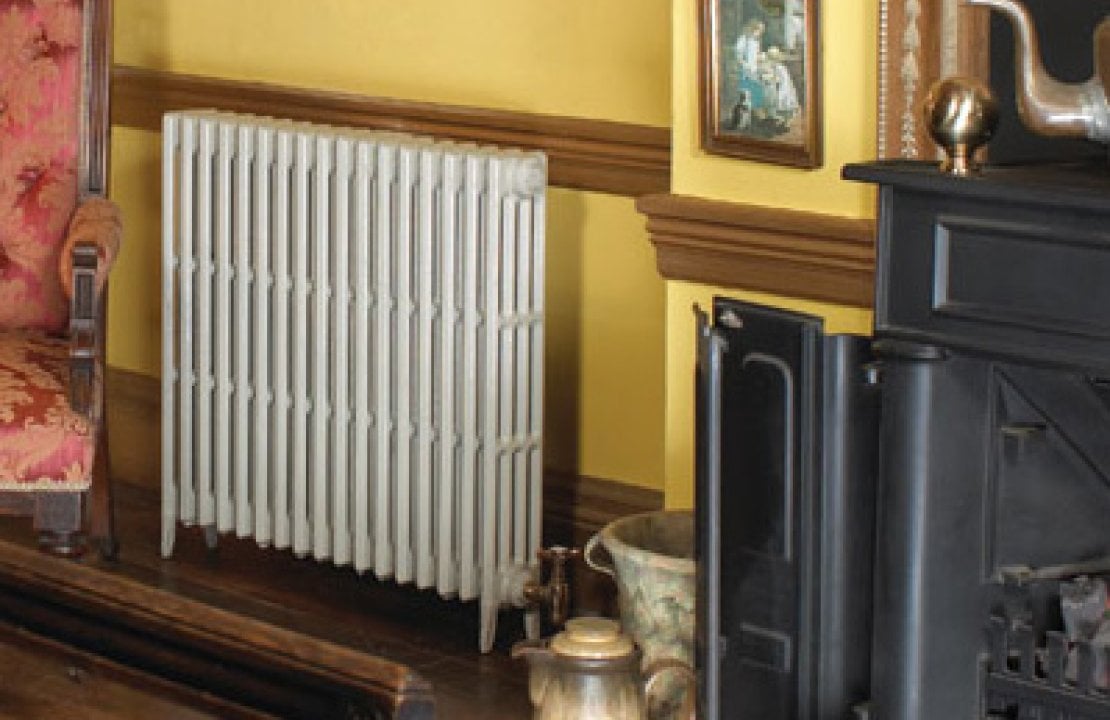
This is a simple guide about how to clean cast iron and column radiators. These radiators can be tricky to clean with their vertical columns with narrow gaps in between them, which attracts dust and dirt. A small cast iron radiator with 12 columns can take a good half an hour to clean but this is not something that needs to be done every week. If you are not careful dust can really accumulate without you realising leaving a very mucky radiator.
How do you drain a cast iron radiator?
If you want to give your radiator a thorough clean both front and back, you can take your radiator off the wall and drain it. The first step is to fully close your radiator valves. In theory this means there is no flow of water from the central heating system into the radiator. You now undo one of the nuts connecting the radiator to the valve slowly. Use a product such as Mopitup or a paint roller tray underneath the join to collect any drips. If you undo the bleed valve at the top it can speed up the rate of drainage. You might fill the tray up once and need to empty and replace it in position again it if there is lots of residual water. Once it's all been drained at both ends in the same way, you can take the radiator off the wall. When you take the radiator off the wall, carry into your garden and empty the water out of the radiator on the drive or patio. Do not empty it onto grass or plants as you will most likely kill them. Once it's empty and dry you can fully clean the radiator. To put it back on the wall just do the same but in reverse but be careful to top up your central heating reservoir as more water will be drawn into the radiator to replace the water that has been discarded.
What's the best method to clean a cast iron radiator?
If your radiator is painted, clean it as follows. It’s really important you do not use this method for polished radiators.

Step One
First of all vacuum all over the surface of the radiator using a soft brush to get the surface dirt off. Then wrap a non metal kitchen implement such as a wooden spoon or spatula in a cloth or teatowel and then run this up between the columns over all of the internal surfaces to dislodge the dirt. Make sure the spoon/towel arrangement is fat enough to be squashed into the crevices of your radiator.
Step Two
Vacuum again. If the radiator does not look clean, use the spoon/towel again wherever you see dust and dirt.
Step Three
Fill a bucket with hot water and washing up liquid. Immerse a dishcloth in this water, and then wring out your dishcloth. Place a towel under the radiator. Then use the dishcloth like dental floss in between the radiators columns, up and down, to give the radiator a wash over all it’s surfaces. Rinse out your cloth and then wring it out again in between each set of columns. If the water gets really dirty, discard the water and fill the bucket with fresh water and washing up liquid. Carry on until all surfaces look clean. For any really stubborn stains, you might wish to gently use a toothbrush but don’t rub too hard. You don’t want to rub the paint off.
If your radiator is polished
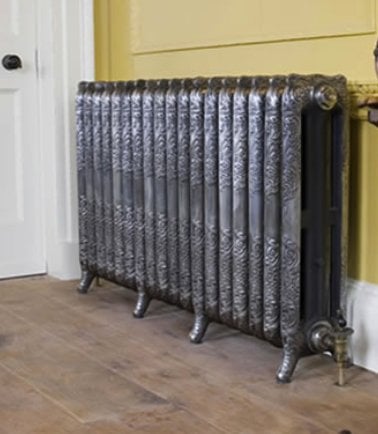
With a polished radiator, as the bare metal is exposed to the atmosphere, the finish requires some regular maintenance to eliminate any unsightly surface patina from forming. Every 6 – 8 weeks you should take a soft lint free polishing cloth, lightly spray it with WD40 and rub it over the polished surfaces of the radiator. This will help to ensure your polished surfaces remain bright and un-oxidised. If the surfaces do start to oxidize, then rubbing them with a Scotch Brite cloth should resolve this for you.

Following this guide should ensure that your cast iron radiators continue to look as attractive as the day they were installed. If, however, you feel that your cast iron radiators are too damaged for the above cleaning process and if you would like to give your lounge or hallway a new lease of life, the Victorian Emporium offers a wide range of georgeous, historically styled cast iron radiators. Discover the full range today.

Be the first to add a comment...