A good way to think about it is that architrave is used where you are changing from one angle to another, to protect and decorate it so that the corner and edges do not get knocked or cause injury with their sharp corners. These openings somehow look unfinished without architrave, however there are instances where architrave is not used, such as where the design wishes to achieve an ultra-modern angular and stark finish in a building.
How architrave is used on doorways
When a doorway is constructed out of bricks/blocks or studwork and plasterboard and is then plastered, the inside of the opening is most commonly then clad with a timber door liner. This consists of three pieces of timber with a plank-like appearance, one for the header and two for the sides of the door opening, to fit together to line the opening. Architrave is then used to hide the potentially unsightly join between the door liner and the wall, with the narrower edge of the architrave being positioned flush with the edge of the door liner. A major benefit of this is that because it is attached to the plastered wall, at a later date the door liner may crack but this cracking will be hidden behind the architrave.
Architrave will go around three sides of the doorway so you will have a header and two side parts, exactly following the door liner. For both sides of a doorway, you would need two headers and four side parts. Always measure the door opening carefully and then add on at least 30cm to all parts to determine the lengths and amount of architrave you need to order. When ordering you should be able to specify the minimum lengths you require so as not to have a join on any part.
Architrave on windows
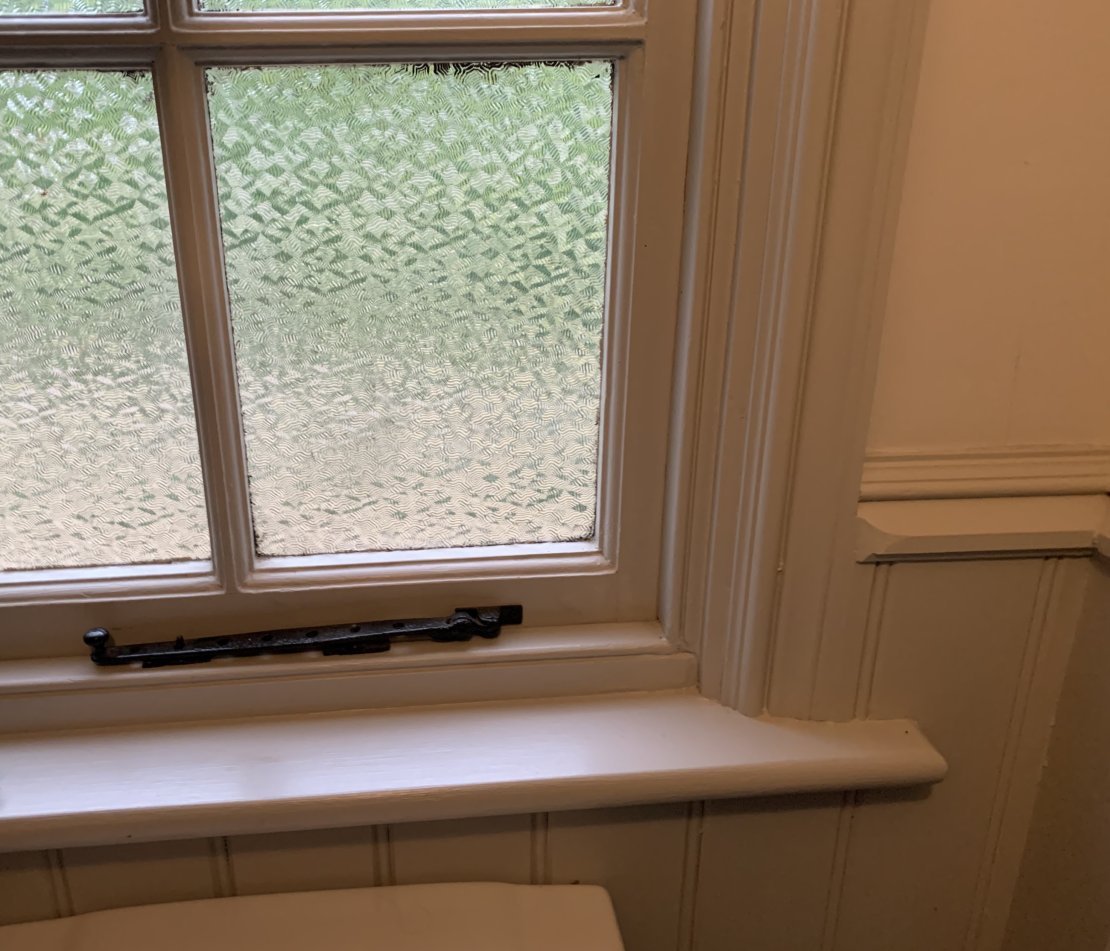
For windows, architrave is used on three sides – again a header and two side parts. The bottom of the window is framed by the window cill. On a window, instead of using a door liner as you would on a doorway, you would use a window liner to line the inside of the window aperture.

Architrave on shelves and cupboards
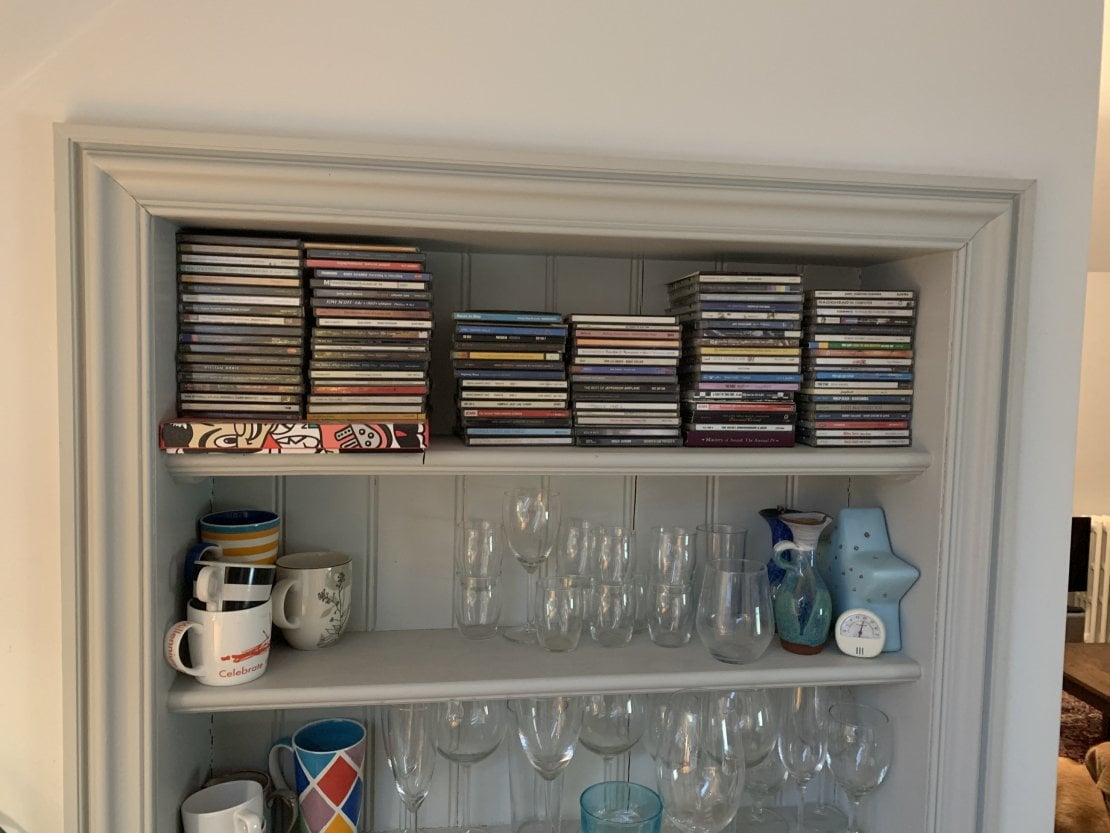
Architrave can also be used to frame decorative features in a room. Often bookshelves are set back from walls and a neat way to finish off these areas is to put architrave around the opening for the shelves. In this instance, you again would need a header and two side panels and potentially a type of cill for the bottom edge.
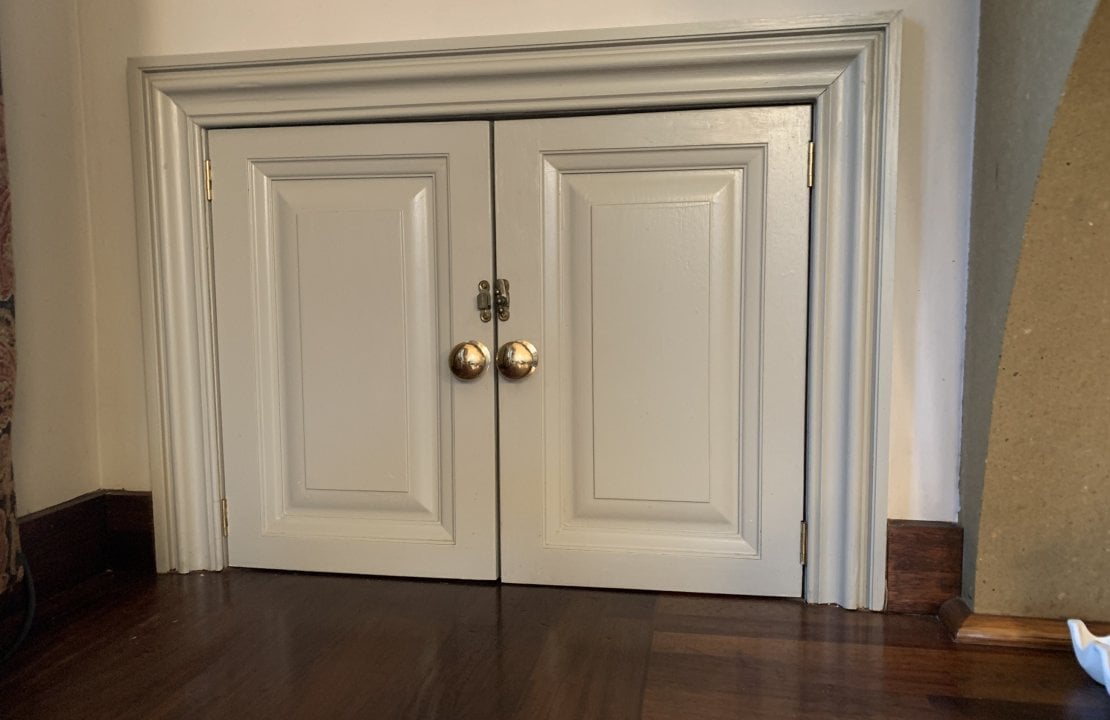
Architrave can be used in the same way for a cupboard set into a wall to give the feature a traditional look.

How should you cut architrave?
Architrave typically fits around three sides of an opening and in most applications, the corners would need to be mitre cut at 45 degrees at each corner/join. You can most easily achieve this 45 degree angle with an electric or hand mitre saw, which you can set at 45 degrees. This can also be done by hand with the angle marked on the architrave and a line drawn for the hand saw to follow. However in some doorways, you may choose to use a corner block at each top corner of the doorway. In this instance you would cut your architrave at 90 degrees and use a corner block on the join between the headers and side panels.
What architrave design to use
You should match the design and size of your architrave with the opening you are framing. If you have enormous sash windows, choose a big bold architrave pattern to frame these.
If you are using architrave around a small kitchen cupboard, use a smaller profile as otherwise the architrave will eat into your wall space and look unbalanced against the cupboard.
For more information, take a look at our guide on choosing the right style of Victorian architrave mouldings for my home or contact us on 01525 750333.

Be the first to add a comment...